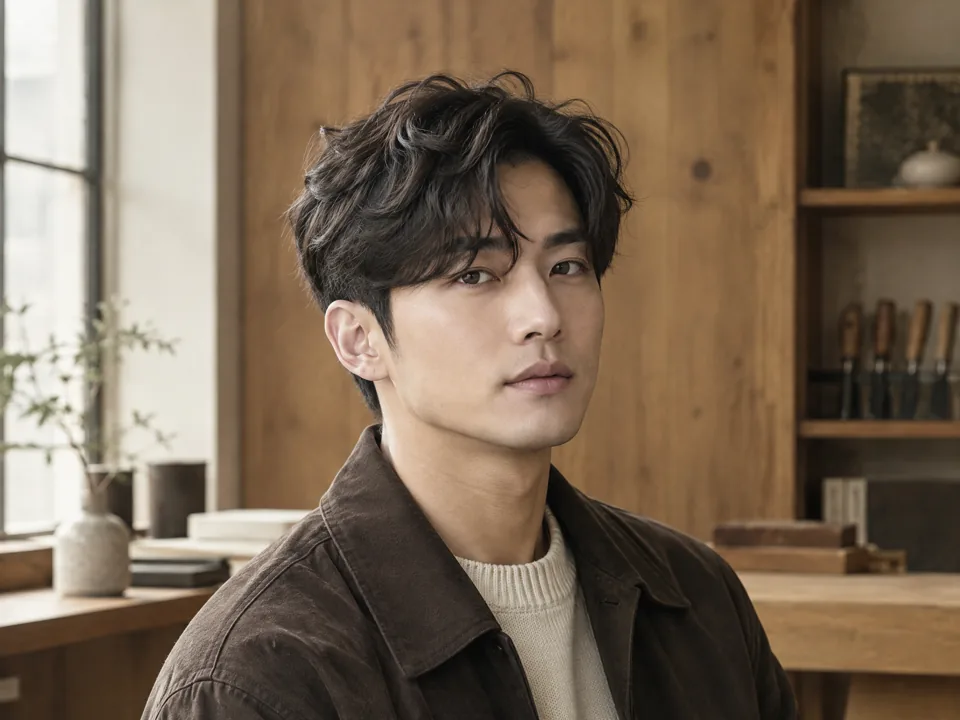
Bridal Hair and Makeup Upskilling: Structure and Eye Detail
The fastest useful upgrade for a bridal stylist is not collecting more looks; it is learning to diagnose structure, control weight, and make eye detail survive real movement and photography. Build that foundation through repeatable sectioning, support, texture, accessory placement, and a consultation process that connects hair, makeup, face shape, outfit, and schedule.
01
Start with structure, not a catalogue of looks
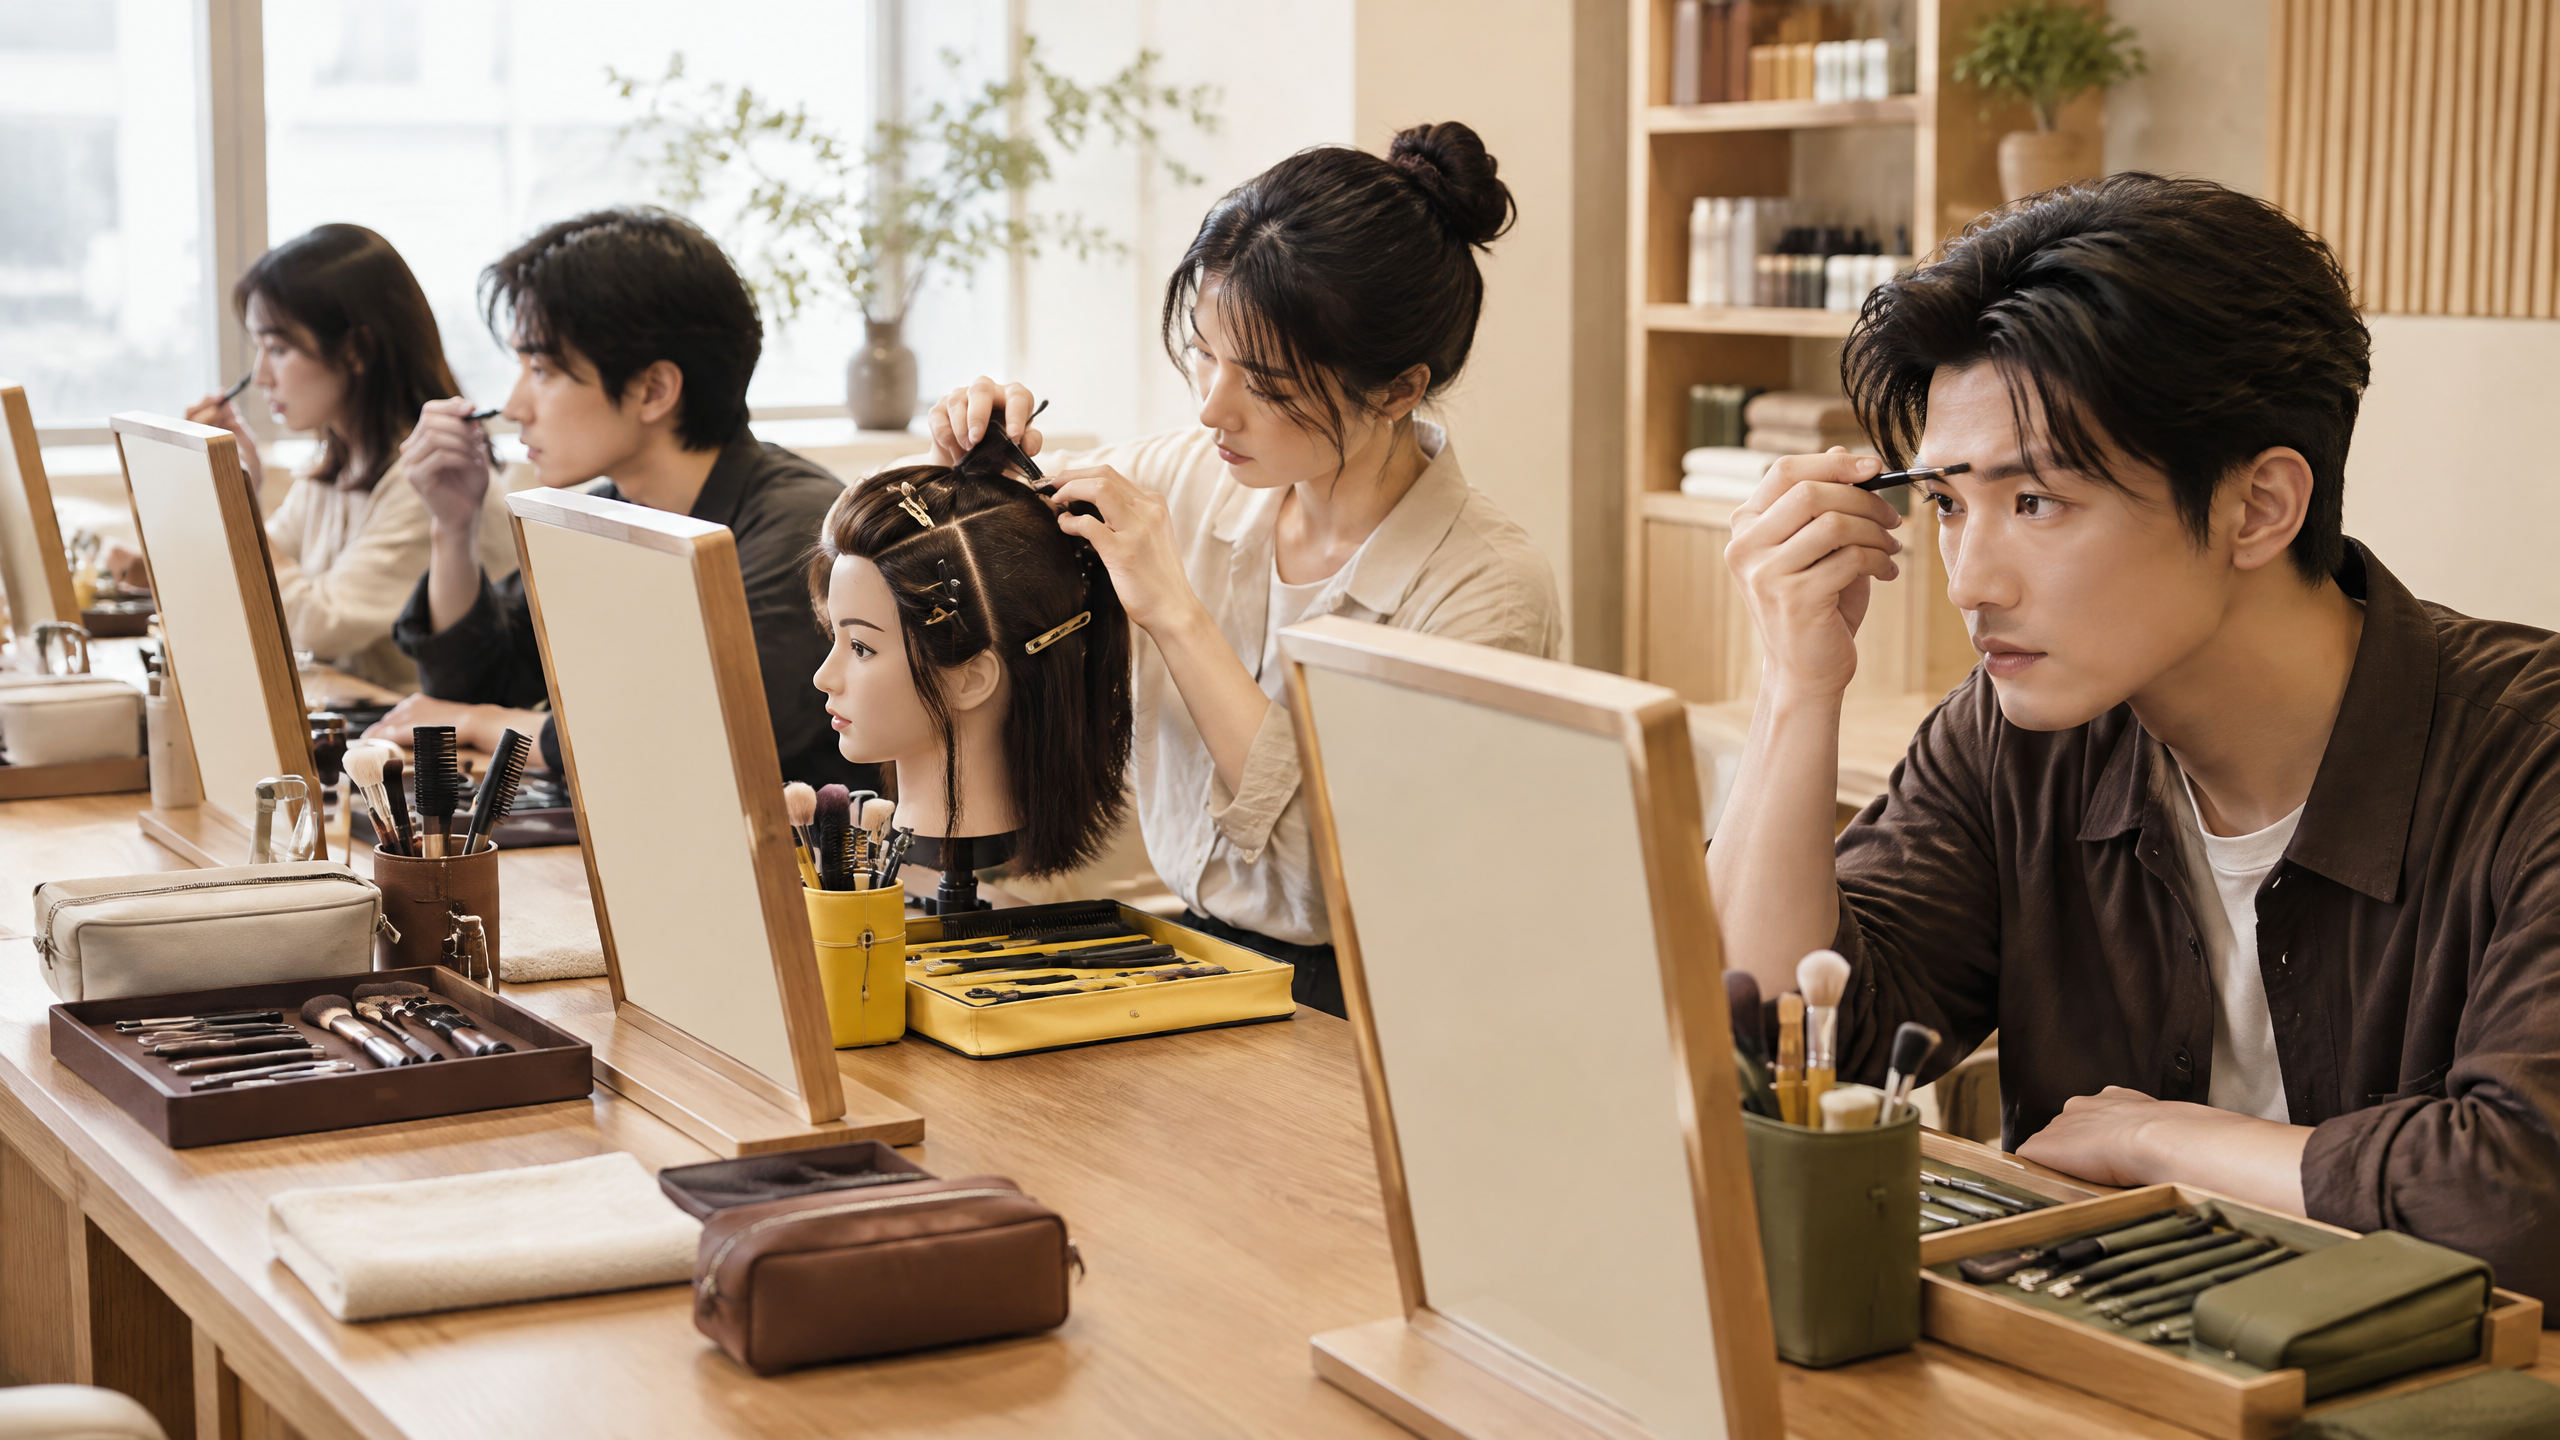
Bridal work exposes weak technique because a style must look deliberate from several angles, stay comfortable for hours, and coexist with a veil, comb, flowers, jewellery, and photography. A reference image is therefore a design brief, not an instruction to copy every strand. Before picking an updo, assess hair density, length, porosity, previous chemical work, natural movement, and the weight of the proposed accessory. For makeup, assess the eye opening, lid space, brow direction, lash density, and how much contrast the clothing and lighting will require.
The useful question is: what must hold, what must soften, and what must remain visible? A low chignon may need a compact anchor and controlled surface, while a textured bun needs planned expansion rather than random teasing. Similarly, a deep eyeliner wing can make a small visible lid look crowded, whereas a short lifted outer corner and carefully placed lash may preserve openness. Skill is the ability to make those trade-offs before the first pin or brushstroke.
Treat every consultation as a translation exercise. Ask where the client will part, whether a veil is removed before the reception, which side is photographed most, and what movement feels uncomfortable. Confirm whether the desired finish is polished, airy, graphic, or softly romantic. Then explain which elements are essential and which can be adjusted if the hair resists. This protects the result from becoming a fragile promise based only on a filtered reference photograph.
- Map the front, profile, back, and likely camera-facing side before designing.
- Separate non-negotiables, such as veil position, from flexible details, such as a few loose tendrils.
- Record the client's comfort limits around tightness, pins, heat, lash weight, and fragrance.
02
Build a stable bridal hair foundation
A reliable updo begins with clean geometry. Use a consistent parting plan, isolate the crown from the sides, and decide where the visual centre sits before backcombing. Foundation work can include directional blow-drying, controlled texture, padding, a hidden ponytail, or a small anchor braid. The choice depends on the hair rather than on a favourite method. Fine hair may need a compact base and lightly roughened sections; dense hair may need weight distributed across several anchors so one elastic or pin does not carry everything.
Pins are structural hardware, not decoration. Insert them against a firm base, cross them where appropriate, and hide the ends without forcing them through the scalp. A bun that feels tight at the trial may become intolerable after several hours, so test stability with gentle head turns, a simulated veil removal, and a short period of normal conversation. Avoid using product to disguise a foundation that is sliding. Shine spray cannot replace direction, and hairspray cannot compensate for an overloaded anchor.
For a student choosing further training, look for practice that makes you section, build, secure, and troubleshoot rather than only reproduce a finished photograph. The supplied Set頭 course Hong Kong page describes a hands-on pathway involving sectioning, base-building, and veil placement; treat that description as a syllabus lead and confirm current content, dates, format, and entry details in writing before making a decision.
| Observed hair condition | Useful starting structure | Main trade-off to check |
|---|---|---|
| Fine or slippery hair | Small anchored base, directional texture, light sections | Too much teasing can look dull or feel brittle |
| Heavy or very dense hair | Multiple support points and divided weight | Over-compression can make the silhouette flat |
| Shorter layers around the face | Controlled face frame with discreet pins or product | Loose pieces must be intentional, not escaped |
| Fragile or chemically processed hair | Lower heat, gentler tension, simpler shape | A more modest design may be safer and more comfortable |
03
Make accessory placement part of the architecture
Veils and hair accessories change the load path of a style. A comb pulls at one area, a tiara can expose the front hairline, and a veil may conceal the very texture that made the original reference appealing. Place the accessory during the trial, not as a final flourish. Photograph it from front, three-quarter, profile, and seated angles. Check whether the teeth of a comb meet a secure base, whether the veil catches on surface texture, and whether the removal plan can happen without collapsing the design.
The accessory should support the visual hierarchy. If the headpiece is ornate, simplify the bun surface and keep eye makeup disciplined. If the accessory is minimal, texture or a clean part can supply interest. Match metal tone and scale to jewellery, but do not let coordination erase contrast: a pale veil against pale hair may need a clearer edge, while dark hair may need a softer transition to prevent a harsh visual block.
A practical class or self-directed drill should include deliberate failure. Build the same base with a light comb and a heavier comb, then note where tension changes. Move the veil after the style is finished and practise re-securing it. This teaches the stylist to design for handling, not just for the moment of the reveal.
04
Use eye detail to improve openness and balance
Eye makeup is not a contest to fit the most product into the lid. Begin by looking straight ahead with the eyes relaxed. Identify the visible lid, crease behaviour, outer-corner direction, and the point where the brow changes direction. Place the strongest definition where it improves the chosen shape: that might be a tight lash line, a softly lifted outer corner, a controlled shadow transition, or a separated lower-lash accent. Keep the central area lighter when openness matters, and avoid allowing a dark band to swallow the lid when the eye folds over it.
For monolids or hooded lids, test the design with the eyes open, not only closed. A graphic line may need to be thinner near the inner corner and slightly extended where it remains visible. For round eyes, elongation can come from a tapered outer shape rather than a thick all-around ring. For deep-set eyes, excessive dark depth can push the eyes back; a diffused transition and precise lash placement may give more useful dimension. These are starting observations, not rigid rules: the client's expression and comfort decide the final balance.
Bridal makeup also has a hygiene responsibility. The US Food and Drug Administration advises consumers to wash hands, keep containers clean and closed, avoid sharing cosmetics, and follow label warnings in its Using Cosmetics Safely guidance [1]. This is general US consumer guidance, not Hong Kong law or an approval of any particular artist or product. If a product causes irritation, stop using it and seek appropriate medical advice rather than covering the reaction.
- Check the eye design at rest, smiling, speaking, and looking slightly down.
- Photograph one version with the eyes open and one with them closed before increasing intensity.
- Keep lash placement aligned with the intended direction of the eye rather than applying the same length everywhere.
05
Connect hair, makeup, and the groom's presentation
A bridal appointment is a paired visual moment even when only one person is receiving a full service. Men's grooming should not be treated as an unrelated afterthought. A groom's hair density, hairline, beard shape, shine level, and collar height affect how balanced the couple appears in wide photographs. The goal is not to make both people identical. It is to align finish: a highly polished bridal chignon beside an unplanned, heavily oily fringe can look accidental, while a deliberately relaxed bride beside a neatly textured crop can look coherent.
Give the groom a simple decision framework. Keep the natural hair direction if it behaves well; refine the outline around the ears and neckline; control flyaways without creating a helmet; and choose facial-hair edges that remain credible in close-up. Avoid a drastic haircut immediately before the wedding if the client has not tested it. A small amount of matte control may photograph more naturally than wet shine, but the correct choice depends on hair and lighting. The same principle applies to the bride: finish should be visible, not overloaded.
When planning a joint schedule, place the most heat-, pin-, and product-sensitive work where it will not be disturbed by dressing or transport. If the groom is wearing a hat, helmet, or tight collar during travel, account for compression and allow a reset rather than assuming the original finish will survive unchanged. This is a coordination problem, not a reason to add more product.
06
Choose upskilling by practice outcome, not by label
Course names can sound similar while teaching very different depths. Compare the actual practice: Does the learner build a base from sectioning? Does the tutor demonstrate adjustments for density and length? Is veil placement included? Can the learner receive correction on pin direction, tension, symmetry, and finish? For makeup, ask whether the work includes eye-shape adaptation, sanitation routines, complexion under photography, and a complete look rather than isolated swatches.
A focused pathway may suit someone who already handles general styling but struggles with secure chignons. A broader pathway may suit a stylist who needs hair and makeup to speak to each other. The supplied bridal hair course Hong Kong page presents hands-on tuition in updos, chignons, and veil placement; use the stated focus to form questions, then confirm the live syllabus and arrangements rather than inferring a guarantee from the page.
If your gap is the whole bridal workflow, compare it with a makeup-and-hair option such as the supplied bridal makeup advanced course. BigDeal Make Up is a related-brand resource to Canvas Texture, not an independent external endorsement; services, classes, dates, prices, format, and availability should be confirmed in writing. The right choice is the one whose practice outcomes match your next real limitation.
| Your recurring problem | Evidence of a useful learning route | Practice result to keep |
|---|---|---|
| Updos loosen or feel heavy | Base-building, weight distribution, pin troubleshooting | A repeatable anchor map and comfort check |
| Veils look added on | Accessory placement from several angles | Photos showing the accessory integrated with the silhouette |
| Eye looks disappear in photos | Open-eye diagnosis and controlled contrast | Before/after images in the same light with notes |
| Hair and makeup feel mismatched | Complete bridal looks and consultation planning | A written design rationale linking finish, outfit, and face |
07
Practise with a measurable, honest review loop
Improvement comes from reviewing decisions, not from counting finished looks. Use one model or mannequin and repeat a core design while changing one variable: parting, base size, accessory weight, texture, or eye intensity. Photograph the result under consistent light, then inspect stability, symmetry, surface control, comfort, and whether the intended detail remains visible at normal conversation distance. Keep notes on what moved, what felt tight, and which step caused the correction spiral.
A hypothetical practice plan might allocate 30 minutes to consultation notes, 60 minutes to the base, 45 minutes to the updo, and 15 minutes to an accessory and movement check: 30 + 60 + 45 + 15 = 150 minutes. That is only an example for planning, not a promised service duration or a rule for every appointment. The point is to reserve time for testing instead of treating the final photograph as the first test.
Ask for feedback in specific language. ‘Does it look nice?’ is too broad. Ask whether the front appears open, whether the bun is visually centred, whether the eyes still look lifted when relaxed, and whether the finish suits the outfit. Build a small portfolio that shows front, profile, back, and close eye detail, with the design constraint written beside each image. Honest limitations make your next consultation more accurate.
08
Use a final checklist that protects the finished result
Before calling a bridal look complete, perform a calm final pass. Inspect exposed pins, loose edges, accessory security, veil friction, brow balance, lash corners, and product transfer. Ask the client to turn, smile, speak, and sit. Confirm what will happen if the veil is removed and where the emergency pins or touch-up items will be kept. A strong finish is not merely photogenic; it is understandable to the person wearing it.
Eye products deserve extra care. FDA eye-cosmetic guidance says not to share eye cosmetics, to avoid use during an eye infection or inflammation, and to stop if irritation occurs [2]. It also warns against unsafe substitutions such as using lip liner as eyeliner. Present this as general consumer safety information from the US authority, not as Hong Kong regulation, diagnosis, or proof of a product's suitability. Follow product labels and ask a healthcare professional about persistent symptoms.
Finally, document the agreed design and the variables that could change it: weather, hair preparation, accessory choice, travel, and timing. Good documentation lets a stylist adapt without improvising blindly. It also makes the consultation more transparent when a reference image cannot be reproduced because the hair, face, garment, or accessory has different physical constraints.
- Check stability after movement, not only while the client is still.
- Photograph the final design from useful angles and record the key construction choices.
- Give care and touch-up instructions that match the actual products and accessories used.
- Never present a hypothetical timing plan, course description, or result as a guaranteed offer.
Sources and useful reading
Continue with hair and grooming
Explore the hair-planning side: Men's Perm Stylist Hong Kong
For another practical image-planning guide: Camera-Ready Groom: Hair Texture and Natural Makeup
Meet the lead stylist and learn about the studio: Vit So and Canvas Texture
Plan your next bridal styling skill upgrade
For a hair consultation at Canvas Texture, bring your reference images, hair history, accessory plan, and the parts of your current workflow that feel least reliable. Discuss the design and practical constraints before committing to a final direction.
Canvas Texture · WhatsAppFrequently asked questions
What should a beginner learn first for bridal hair?
Learn consultation, sectioning, foundation-building, pin direction, weight distribution, and movement checks before chasing complicated surface details. A simple chignon that is comfortable and secure teaches more transferable skill than a complex style that only works on one head of hair.
How can I adapt eye makeup for hooded or monolid eyes?
Work with the eyes open and relaxed, place visible definition where it remains visible, and use controlled transitions instead of copying a closed-eye diagram. Test liner, shadow, and lashes at speaking distance and in photographs; the final design should follow the individual eye rather than a rigid category.
Is a bridal hair course enough to become confident with makeup too?
Not necessarily. Check the syllabus and practice outcomes. A hair-focused course may cover updos, chignons, and veil placement without teaching complexion, eye-shape adaptation, or sanitation for makeup. Choose a combined route only when its actual hands-on content addresses your gap.
Should a groom change his haircut just before the wedding?
Only if the style has been discussed and tested in advance. A last-minute major change can alter shape, length, and confidence. A controlled tidy-up, natural-direction styling, and a finish that matches the couple's overall visual language are usually easier to evaluate honestly.
Related journal articles
Camera-Ready Groom: Hair Texture and Natural Makeup
The most camera-ready groom does not look heavily made up; he looks like himself with controlled shine, deliberate hair texture and enough definition to survive changing light. Decide the hair shape first, then use restrained complexion and brow adjustments to support it, and test the complete combination under the kinds of light and movement your day will actually contain.
Wedding Morning Hair and Makeup: A Couple’s Run Sheet
The most reliable wedding morning is not one where everyone starts at the same time; it is one where each person has a clear preparation window, a defined hand-off and enough buffer before the first photograph. Build the run sheet around fixed moments, protect the groom’s haircut and grooming from last-minute experiments, and let the couple prepare in parallel whenever space and suppliers allow.
Bridal Trials and Groom Styling: Test the Whole Wedding Look
The most useful bridal trial is not a bride-only appointment: it is a controlled test of the couple’s complete visual balance. Coordinate the bride’s makeup and hair reference with the groom’s haircut, texture, facial hair and outfit, then judge the result in the lighting and photos you will actually face; this catches proportion, shine and timing problems before the wedding day.