Wig Accessories: Match Brushes, Adhesives and Care Tools
Choose each wig accessory by the exact fibre, base, and job it must perform. A brush, attachment product, or cleanser should fit the piece’s instructions. Matching these details prevents an attractive label from driving an unsuitable purchase. It also makes a later problem easier to isolate. Start with the wig’s own care card before browsing tools. Keep that card in the storage pouch.
**Planning assumption:** one wearer uses one piece on five workdays each week. That routine may need a grooming tool, drying support, and labelled cleanser. This is a planning example, not a lifespan or washing-frequency claim. The maker’s instructions can change every item on that list. Record the actual fibre and base before building the kit. Its purpose is comparison, not a record of performance.
This guide separates grooming, attachment, wearing layers, washing, and storage. Each section identifies what to inspect and what that inspection changes. It also suggests useful observations for a Hong Kong men’s salon appointment. The aim is a small routine that can be followed before work. It is not an argument for buying every available accessory. A brief phone note is enough for this purpose.
Canvas Texture Editorial · 2026-10-16
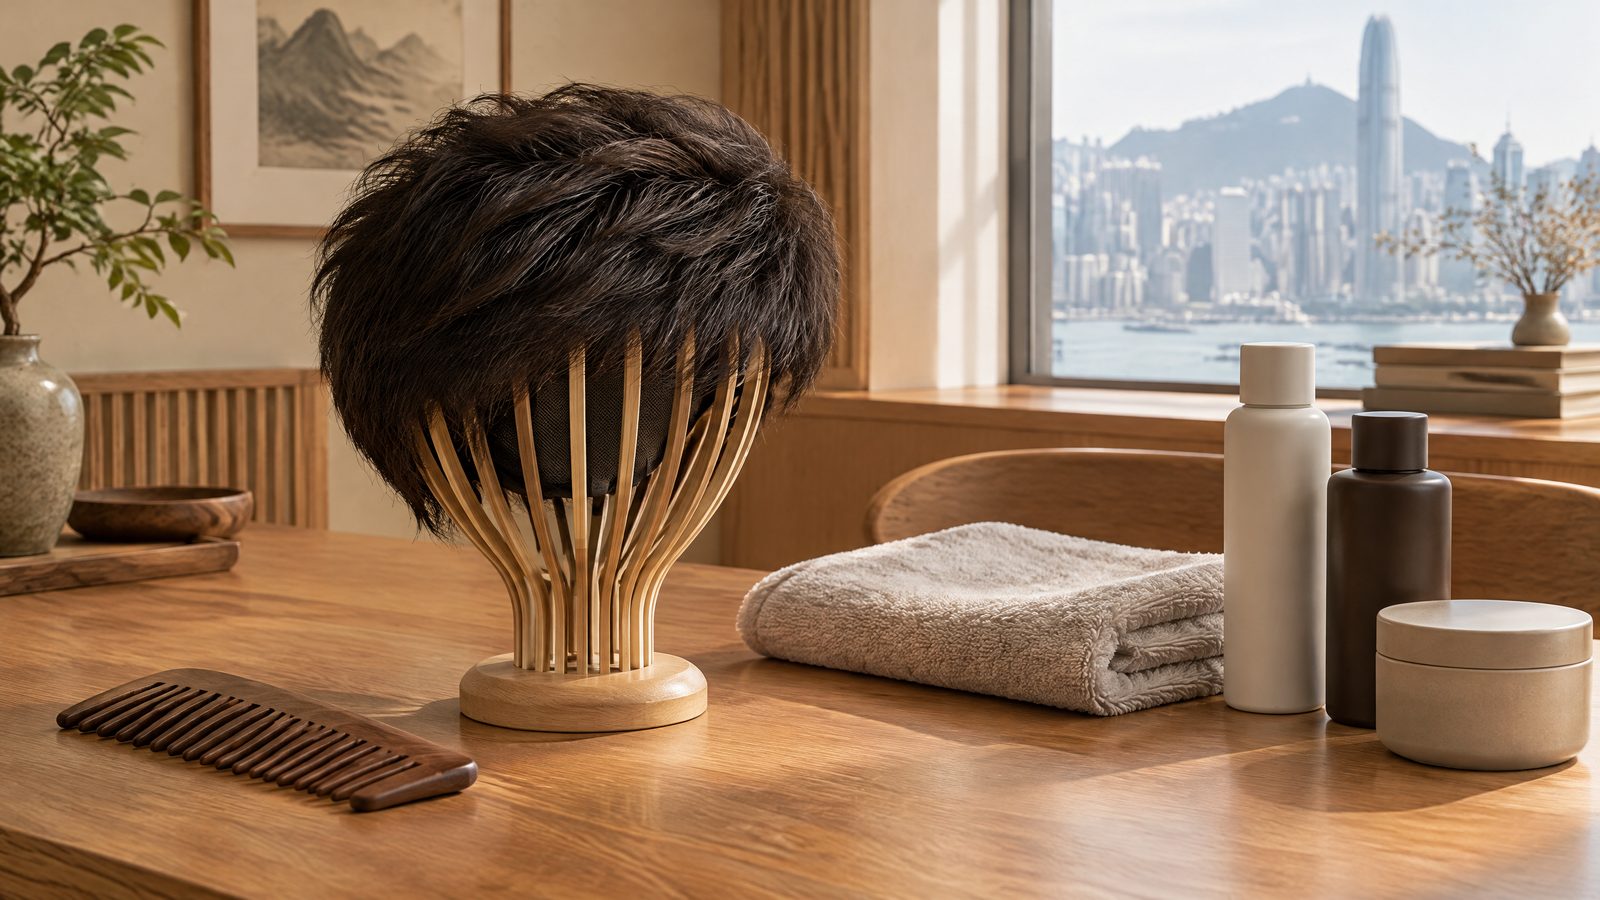
Start with the piece, not the accessory shelf
Make a one-page identity card for each wig or hairpiece. Photograph the care label and note fibre, base, length, curl pattern, and attachment method. Add the purchase date only as an identifier. Two dark, short pieces can still need different products. A missing label changes the next action. Pause washing, heating, or attaching products until the maker or seller identifies the specification.
Separate what is built into the piece from what you wear with it. The base belongs to the wig. A liner, cap, brush, tape, or stand is an accessory. That distinction stops a buyer from seeking a liner to solve a sizing problem. It also prevents a brush from being blamed for a loose attachment. Name the problem first, then match it to one category.
Observe the problem at the moment it happens. Note whether snags form at the nape, fringe, or a particular curl. Notice whether sliding begins after movement or after product residue appears. Write down the exact tool used beforehand. These observations give a comparison a real starting point. The next purchase should address the pattern, rather than a vague wish for better care.
For an appointment, bring the piece when possible, its care card, and photographs of the base. Bring the current brush, cleanser, tape, or remover labels too. A salon can compare stated uses with the physical construction. The useful outcome is a written routine for that specific piece. If a base detail remains unknown, request it before selecting an attachment product.
Brushes and combs: control contact and tension
Choose a grooming tool by its contact points, not its promotional name. Check tooth spacing, tip smoothness, flexibility, and stated fibre use. Wide spacing may suit some longer or textured styles, but it is not automatic proof. Inspect the back of a brush for raised seams. A rough edge can catch fibres repeatedly. Select a tool only after comparing those features with the wig’s label.
Detangle from the ends in small sections while supporting hair near the base. This reduces direct pulling on the foundation. Stop when the tool catches at one exact spot. Look for a crossed fibre, dried styling residue, or a damaged tooth. Repeatedly forcing the same knot can change the next decision from grooming to professional inspection. Do not compensate by brushing harder or faster.
Keep broad grooming and precise styling as separate roles. A broad tool can manage overall direction before work. A narrow, smooth tool may be better for a parting or short fringe. Compare the result in normal indoor light, then after moving your head. If the part shifts or the front looks lifted, inspect the base before changing brushes. The style may be signalling an attachment issue.
Clean loose fibre and visible residue from the tool after use. Store it away from adhesive products and direct heat. If grooming causes pain, stop rather than adding pressure. The American Academy of Dermatology says pain can signal that a style is too tight. It also links prolonged pulling with traction hair loss 1. That warning changes the next step to fit and clinical advice, not stronger handling.
- Check the stated fibre use, tooth tips, spacing, and brush seams.
- Support the hair near the base while working from the ends upward.
- Record the location of a recurring snag before replacing a tool.
- Stop grooming if it causes pain or persistent irritation.
Adhesives and tapes: plan removal before application
Identify the base material and intended contact area before choosing adhesive. Lace, mesh, polyurethane, and other bases can have different instructions. A product may be intended for a base, skin, or a limited edge. Record the adhesive name beside the base description. That pairing matters when residue appears later. Without it, a remover cannot be compared reliably with the attachment product.
Compare formats by the shape of the task. Pre-cut tabs can suit a defined small area. A roll can suit an edge requiring measured lengths. Liquid adhesive may require specific application and drying steps. None of those formats proves a particular wearing time or comfort level. Read the label for the contact area, warnings, and compatible remover. Choose the format whose full procedure you can follow accurately.
Do not substitute household double-sided tape because its appearance seems similar. Its backing, adhesive, and removal instructions may not fit a hairpiece or skin contact. If a product does not name the relevant base, ask the supplier for compatibility details. Keep the answer with the product label. That question changes the decision from trial-and-error to either a defined choice or a postponed purchase.
Plan the removal step at the same time as attachment. Keep the specified remover with the adhesive record and care card. Before removal, check the instructions for the permitted contact surface and waiting process. Do not pull against lace or fine mesh. If residue remains after following instructions, document where it sits. That observation helps distinguish a product issue from an application-area mismatch.
| Format | Useful comparison | Decision-changing check |
|---|---|---|
| Pre-cut tape tab | Shape against a limited edge | Named base and removal method |
| Tape roll | Width and measured cutting | Edge placement instructions |
| Liquid adhesive | Labelled application sequence | Permitted contact area and warnings |
| Remover | Compatibility with the chosen adhesive | Base or skin directions |
Attachment is a complete routine only when the compatible removal method is already identified.
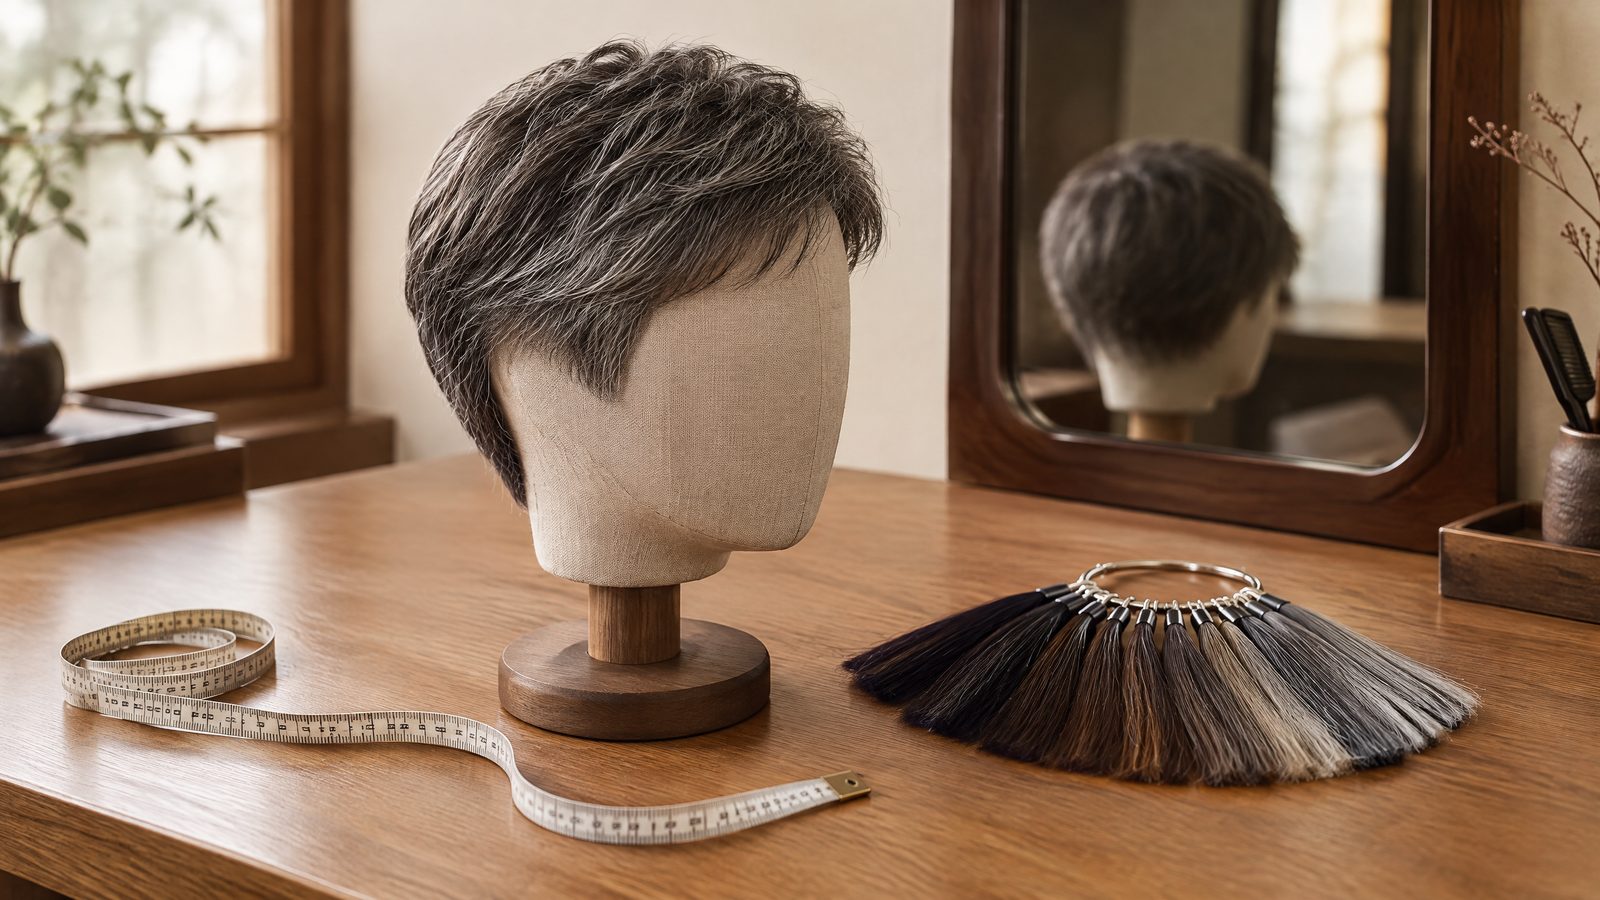
Caps, liners, and grips: distinguish fit from comfort
A cap or liner is a wearable layer, not the wig’s built-in base. Compare fabric, stretch, size range, and contact surface. With natural hair, check whether it gathers the hair without concentrated pulling. Without natural hair, inspect whether the edge stays flat during ordinary movement. Material names alone cannot predict comfort. The next action depends on observed pressure points, not a general softness claim.
A grip band can affect positioning, but it cannot correct the wrong wig size. Test the combination during normal head turns, looking down, and removing glasses. Then inspect the forehead, temples, and nape after removal. A line of pressure or rubbing suggests changing the fit discussion. It does not establish that a tighter band is needed. Keep the wig maker’s permitted accessory combinations as the deciding instruction.
When comparing wearing layers, list one functional purpose for each. A cap may organise natural hair. A liner may create a contact layer. A grip band may support positioning. If two items perform the same role, test one at a time. This avoids mistaking a warmer, bulkier setup for greater security. Record the position and duration of discomfort, so the salon can assess the setup accurately.
The OWNSTRAND wig accessories Hong Kong guide helps identify accessory categories. Use it after recording the fibre, base, and wearing problem. It is a related same-owner brand resource, not an independent endorsement. Ask about the current specification of a particular item. A broad category page cannot establish compatibility with your exact wig. Keep the final choice linked to the care card.
| Accessory | Primary role | What to observe |
|---|---|---|
| Cap | Organises or covers natural hair | Stretch and gathered-hair pressure |
| Liner | Creates a contact layer | Edge position and rubbing |
| Grip band | Supports wig positioning | Pressure during ordinary movement |
| Wig base | Forms part of the wig | Maker’s stated accessory limits |
Washing tools: start with fibre and label language
Identify the fibre before opening a cleanser. Human hair, synthetic fibre, and mixed pieces may have different washing and styling directions. A bottle labelled for wigs is not enough evidence on its own. Compare the stated material, dilution instructions, rinsing method, and drying guidance with the piece’s care card. If the two instructions conflict, follow the wig maker’s direction and seek clarification before using the product.
Keep cleanser, conditioner, detangler, and styling spray as separate decisions. Their names describe different jobs, not a guaranteed sequence. For example, a finish that looks dull after washing may require checking the rinse method first. It does not prove that another product should be added. Photograph the labels and write the first-use date. That record lets you compare a later residue change with a specific product.
Cancer Research UK distinguishes human hair, synthetic, and mixed wigs. It advises following manufacturer instructions for heat tools. That matters because fibre type alone does not give a universal heat rule 2. For salon planning, bring both the wig card and any styling-product label. The comparison can then identify a permitted method or a detail that still needs confirmation. Keep both labels visible during the comparison.
Use comparing wig shampoo options only after identifying your fibre. The page can help locate product categories. It does not replace the care instructions for a particular piece. Write down the product name, material claim, and any stated limits. Then compare those points with your card before washing. If one label is vague, delay the purchase and ask a precise compatibility question.
Storage and drying: preserve the routine between wears
Drying begins with the manufacturer’s instructions, not the available space. A support can hold shape temporarily, but its height and contact points should suit the length and base. Avoid enclosing a piece before it is dry when the care card requires air-drying. Look for flattened curls, a bent fringe, or pressure marks after storage. Those visible changes tell you whether the support or placement needs adjustment.
Set up a clear care station before wash day. Keep a clean towel, labelled cleanser, suitable grooming tool, and drying support together. Keep adhesive products elsewhere, so residue cannot reach clean tools. If your household has multiple pieces, use named pouches or tags. The tag should show fibre, base, and approved cleanser. This simple separation prevents a bottle selected for one material reaching another piece.
**Planning assumption:** a five-day work routine receives one planned care review each week. The review checks visible residue, tangles, attachment edges, and storage shape. It does not prescribe a universal wash day. Wear, product use, and maker instructions determine the actual schedule. Note one observation and one next action, such as cleaning a brush or asking about residue. This keeps the review specific without pretending to predict lifespan.
Store a written sequence with the piece: groom, attach if applicable, remove as directed, then prepare for storage. Do not let that sequence become a generic rule for every wig. A short textured piece and a longer curled piece may show different storage risks. Review the sequence when a new accessory enters the routine. If the change creates a new snag or pressure mark, return to the previous known setup.
A useful care kit makes the next correct action obvious without turning storage into a second project.
Build a practical kit for men’s salon appointments
Give each kit item one named task. A brush manages grooming. A cleanser supports the approved wash routine. A stand supports drying or temporary storage. Attachment products belong with their matched remover. This layout exposes gaps quickly. For example, a person with tape but no documented remover has an incomplete attachment plan. Remove duplicate items until every remaining tool answers a known daily or weekly need.
Bring a short evidence pack to the consultation. Include the care card, photos of the base, current product labels, and notes about when sliding or tangling occurs. Add a photo showing the desired hair direction in ordinary lighting. State whether the priority is a discreet front, easier morning grooming, or simpler removal. That priority changes what the stylist examines first. It also avoids confusing an appearance goal with an attachment requirement.
OWNSTRAND lists custom options from HK$2,780, HK$3,280, and HK$5,680. Its stated three-to-five working-day production period applies to the defined custom options. It is not a catalogue-wide price or delivery promise. Ask which construction, fitting steps, and adjustments are included in a current quotation. That answer determines whether a custom appointment suits the plan. Do not transfer those figures to stock items or another service.
Use a comparison sheet with four headings: piece details, observed problem, proposed tool, and next check. Under “observed problem,” write something visible, such as nape tangling after a commute. Under “next check,” name the result to inspect, such as whether the nape brushes cleanly. This makes a tool change testable. It also prevents a vague promise from replacing a defined grooming or fitting decision.
Make the next decision through a focused consultation
Canvas Texture can discuss men’s hairstyle direction, density, and maintenance planning. Bring the physical piece where possible, rather than relying only on shop images. The discussion should separate hairstyle goals from wig construction questions. OWNSTRAND can separately clarify fit, construction details, availability, and ordering information. This guide does not diagnose hair loss or scalp conditions. Concerns about either belong with an appropriate clinician.
Read ownstrand-wigs.com · wig tape as a category reference before choosing a tape. Record your base type and the intended contact area first. Then ask which removal method is specified for that pairing. The page cannot guarantee fit, wear time, or skin response. A confirmed answer should name the exact product and base. If it cannot, postpone the attachment choice rather than guessing.
End the appointment with a teach-back. Ask the wearer to describe the first tool, the application area, the stopping point, and the storage step. Correct unclear wording while the piece and labels are present. Mark unconfirmed details as pending. The resulting note should identify one concrete next check, such as a pressure point after a workday. That turns the consultation into a routine the wearer can actually repeat.
Sources and useful reading
Continue reading
Continue with natural hair planning: Deep Hair Treatment HK
Another related decision guide: Men’s Hairpieces or a Perm? Compare Coverage and Shape
Read our studio background: Vit So and Canvas Texture
Plan your Canvas Texture hair consultation
Bring your current piece, care label, product labels, and daily-routine notes. Canvas Texture can discuss men’s hairstyle direction, density, and maintenance planning. Wig fit and detailed product confirmation are handled separately with OWNSTRAND.
Canvas Texture WhatsAppFrequently asked questions
Is one brush suitable for every wig?
No. Compare the brush with the fibre, length, curl pattern, base, and the maker’s instructions. Smooth tips and appropriate spacing matter more than a generic label.
Can household double-sided tape replace wig tape?
No. Household tape may have unsuitable adhesive, backing, or removal directions. Use a product labelled for the relevant base and contact area, with a compatible removal plan.
Can I use ordinary shampoo on a human-hair wig?
Do not assume so. A human-hair wig still has a base, knots, finish, and maker instructions. Compare the cleanser label with the care card before use.
When should a wearer seek medical advice?
Seek clinical advice for persistent discomfort, marked irritation, pain, or concerns about hair loss. A salon can plan appearance and care, but cannot diagnose a medical condition.